This is an ogee

/ Sunday 13 February 2011 /

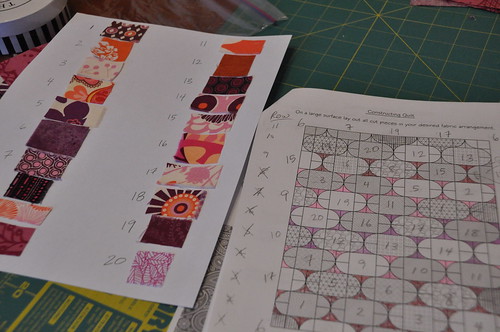
Edited to link to Cheryl's Workshop in Progress, to show how my initial request for help with fabric selection evolved to a semi-final product.

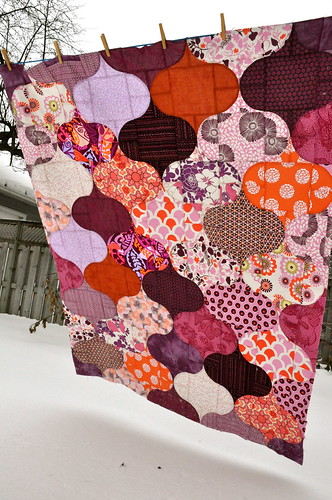
As I was making this quilt top I kept thinking I knew what this shape was called.  The pattern is called Curlicue Crush, but I know this shape has a specific name, and curlicue is not it.  I kept thinking the name of the shape is associated with crossword puzzles, and so it is: ogee, an architectural term, is one of those words that they like because it has so many vowels in it.  So this shape is an ogee, which can be pronounced with the stress on the first syllable OH-gee, or on the second syllable, oh-GEE.

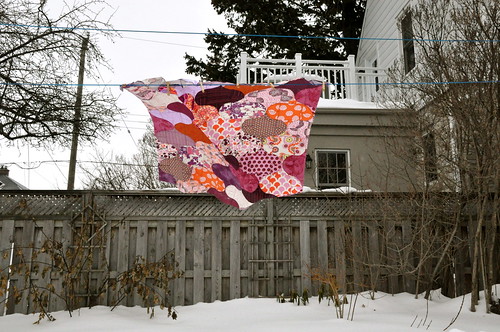
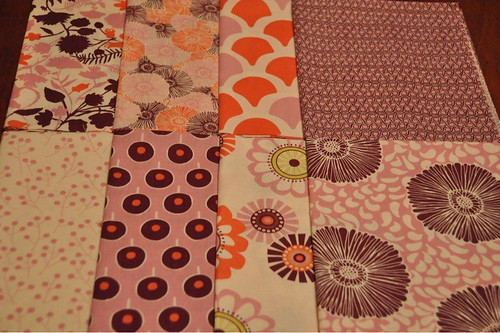
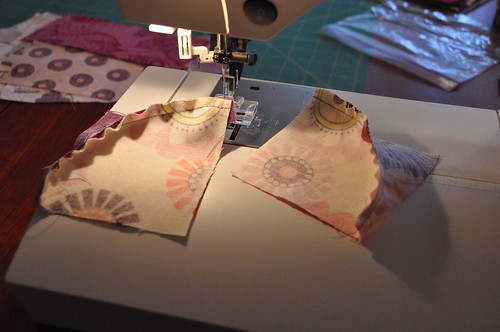
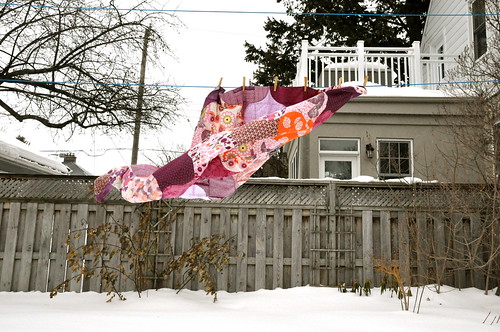
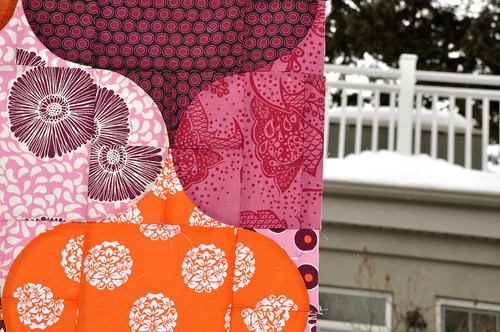
I finished piecing this quilt top this morning.  All things considered, this was a very speedy top to put together.  The most tedious part was marking and cutting with the templates.  Yesterday was a beautiful sunny day, and I was so disappointed that today did not follow suit.  It's hard to capture the cheery colours of this quilt on such a gray day.

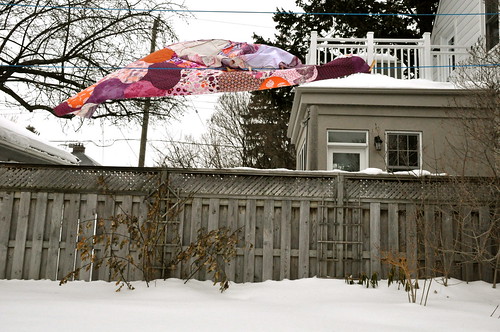
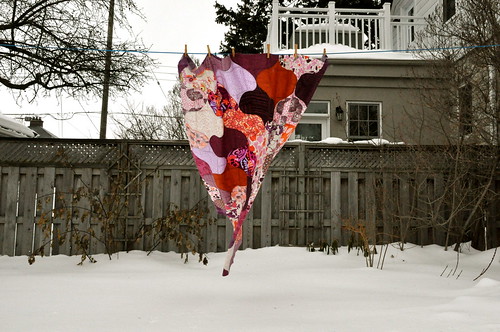
But as you can see, the sunlight wasn't the only challenge to getting photos of this flimsy.


DSC_0130
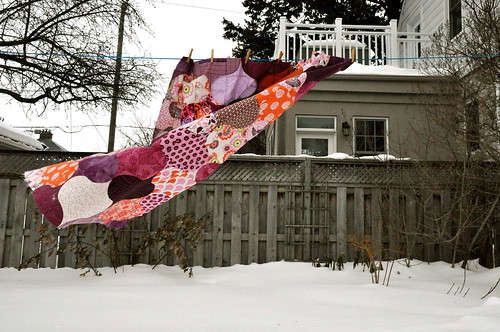
Putting this quilt together gave me a good long time to think about directional prints, and really enlightened me as to the tiny things that I would normally overlook when I make a decision whether I think something is directional or not.  More on that later, but you can see what I mean, I'm sure.
DSC_0127
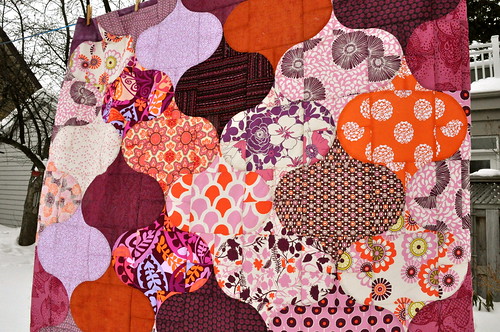
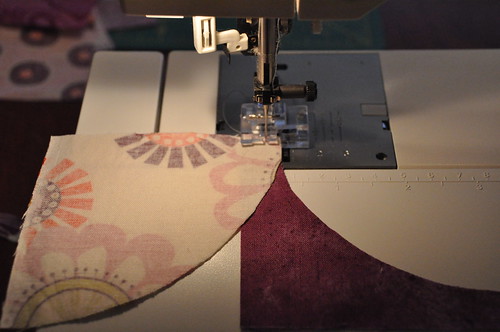
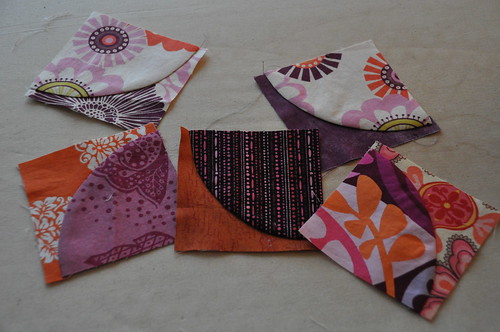
And remember in my last post I was talking about how the fabric was short.  There are several places where I had to patch small pieces together to cut the larger required piece, but I won't show you those because they are boring, and mostly not noticeable at all.  However, here are the two places where I had to supplement with non-matching fabric.  In the first one, only 1/4" will show after the binding is on.  I might embroider my name or the date on that strip, so I am actually kind of excited at how that become a design feature instead of a flaw.
Poverty piece 1
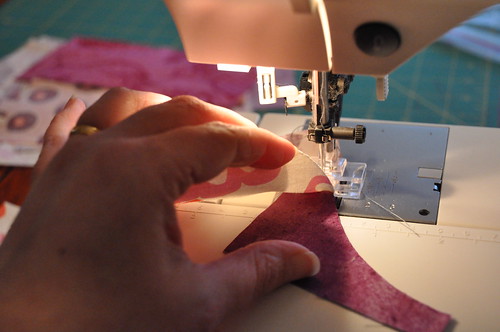
In this second one, the entire segment which is now primarily made from the AMH red print was supposed to feature that lollipop-looking fabric down at the bottom tip, and all the pieces were cut from that FQ.  But the matching tip on the top of the segment, when I came to assemble it, was so frayed along the edge that I couldn't sew a secure seam (recall that I could not true up the fabric for initial cutting).  I had already sewn the bottom tip, so scratching that one and replace the whole thing with the AMH red would have compromised the orange segment at the bottom, since it was already sewn up.  I'm sure this is too hard to follow.  The bottom line is that I replaced everything that I could with the AMH fabric, and left this one tip intact.
Poverty piece 2
However, over all, I don't think anyone will notice, and I don't think I'm likely to fret over these small imperfections.  The quilt is 48" x 60" so quite small.  I think it will easy to quilt up - and now I have to stop piecing and start quilting.  I have quite a queue!
DSC_0130

Getting curvy

/ Tuesday 8 February 2011 /
Edited to add:  I'm linking this to Cheryl's Workshop in Progress linky since I posted there asking for thoughts on my fabric selection process - I thought it might be nice to show how things are coming along.

Last week I worked like a dog to finish some oppressive work projects so that I could have the weekend to devote to my sewing machine.  Friday night I made a few spiderweb blocks, like the one here, to add to those made by my friends in the 2010 Maple Leaf Bee.
Spiderweb block
But I was really saving my energy for Saturday and Sunday, when I embarked on Curlicue Crush.  Thanks to all the feedback in my fabric selection process, I ended up with 20 FQs that worked well together.  I was very excited to break out my Curvemaster sewing foot and try my hand at the curved seam, but this pattern is another one, like the kaleidoscope quilt, where you can't sew a single block without knowing which blocks will fall on all sides of it.  So I had to do all the cutting before I could start sewing.  And it was pretty time consuming since it involved a lot of template tracing and cutting.  Boo!  Down with templates!  I did have one unhappy realization in the cutting process.  I ordered this FQ bundle of Sugar Pop from Pink Chalk for the core fabric selection, and built up additional fabrics around these.

Since I chose fabrics from a number of different lines, fabrics that differed in how thin they were, how closely woven, etc., I figured I should prewash them.  But when it came time to cut for this pattern, I found that I didn't really have enough of the Sugar Pop FQs.  Either the cuts were short initially, or they shrank dramatically, but in nearly all cases, they measured a scant 17" at the best, at sometimes even less, instead of 18", which meant that I couldn't square them up to get a clean initial cut, but sometimes couldn't even get a full 3.5" width out of the last strip from the FQ.  Unhappily, this resulted in several poverty blocks, where smaller pieces were sewn together to make a larger piece, and it two cases I had to supplement entirely different fabric for part of a block.  I've not had this problem with Pink Chalk before, so I wonder if it is an issue with the Sugar Pop fabric line itself.  This is kind of disappointing when you are making a quilt from specially selected fabrics rather than scraps, but what can one do?  Never mind - I am hoping that the overall effect will be so stunning no one will notice these unfortunate make-do moments.
DSC_0111
Here you can see how I number-coded the pattern and matched each number to a fabric swatch.  I needed to do this to make sure I was sewing the right concaves to the right convexes.  It took me all day to do the cutting, and I managed to do all the curved seams on Sunday.
DSC_0112
I used my new Curvemaster foot.  Turns out it matters which curve goes on the bottom.  This photo shows the right way: concave on the bottom and convex on the top.  I was particularly interested in learning how to sew curves without pins.  If I had to put a million pins in each curve, the way the pattern says to do it, I knew I just flat out wouldn't make it.  I hate fiddling with pins!
DSC_0113
The idea is that you can sew without pins if you lift the top piece up and away from the bottom piece as you are sewing (I used both hands normally, except when I needed one for the camera), and keep both pieces aligned against the sewing guide on the right.  This gives you the proper 1/4" seam allowance.  If you bring the pieces together and allow them to touch before they are right under the needle, it all goes spectacularly wrong and ends in tears.  But if you do it right, you get nice little curved seams!
DSC_0114
Which you can then clip and press.  I am not a pro yet by any means, but some of these are pretty good.  Some (not shown) are really a dog's breakfast.  All in all, I feel quite proud of myself.  I'm desperate to finish piecing this - only straight seams remaining now.
DSC_0117
I did manage to get out for a couple of hours on the weekend to take in our winter festivities downtown.
Open air hockey.
FebFest girls' hockey
Beavertails
Beavertails

Ancient Greek ruins in snowy miniature.
Snow Acropolis
Snow coliseum
Steam train covered in snow
Spirit of Sir John A
Snow maze
FebFest - Snow maze
Ice slides
FebFest
And don't forget the souvenirs!
FebFest
Must run for now - stay tuned for further adventures wherein I introduce my Whipstitch Sewing Buddy and perhaps show some photos of a bit of fabric bought today!

Popular Posts

Modern Day Quilts
 
Copyright © 2010 Stitch Literate, All rights reserved
Design by DZignine. Powered by Blogger