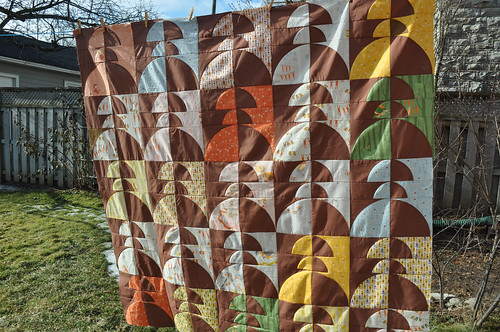
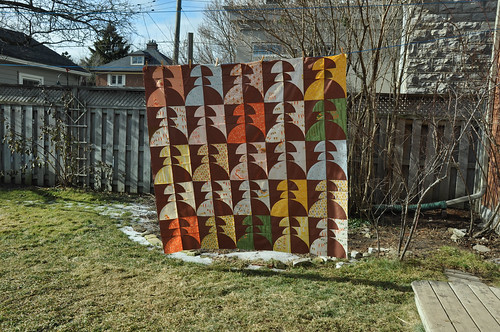
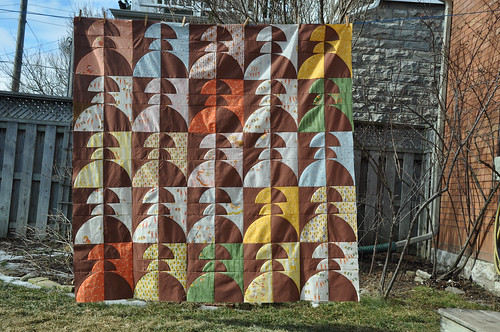
I'm overwhelmed by all the love I got in the comments on my post about
The Worst Quilt I Ever Made. I am taking a break from obsessing over it, and when I look at it again, I may feel it isn't so bad. Many people reminded me how we are our own worst critics. And, after all, it is finished, and that is worth celebrating, since "finished is way better than perfect" when it comes to quilts!
I also wanted to show you my new hand project. After completing this EPP stars top, I found myself in withdrawal from hand piecing. I love having a project I can work on in the evening while I watch TV. I started a
scrappy EPP hexagon project, and it was fine, but I couldn't help but feel it was somewhat lacklustre.

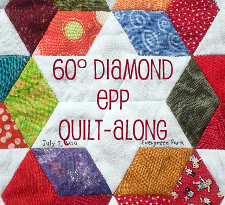
Then I read about this
QAL. I was hooked.

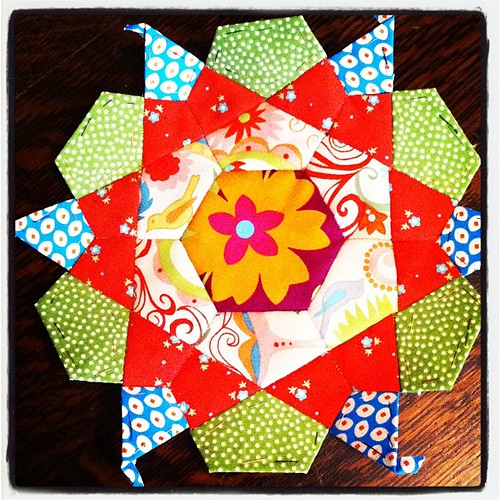
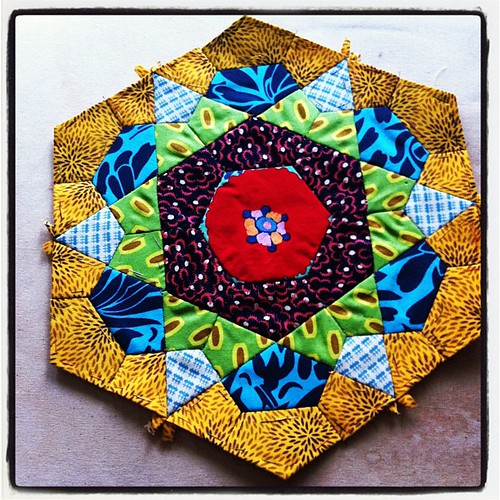
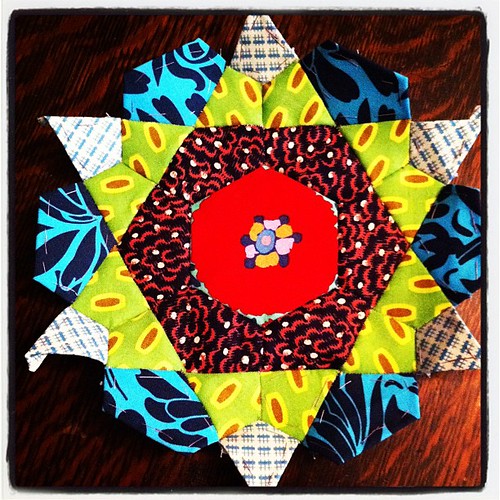
I started out using
this tutorial by Summerfete. But in the Flickr group, one of the members posted a drafted template that I have been using. Each block has 31 pieces, but there are only three different shapes. In my block, the centre hexagon is 3" across. I understand that it is possible to make this block using only one piece - a kite - but that would nearly double the number of pieces per block. Life is long, but not that long. I'm happy with the more limited options that the fewer pieces gives me.
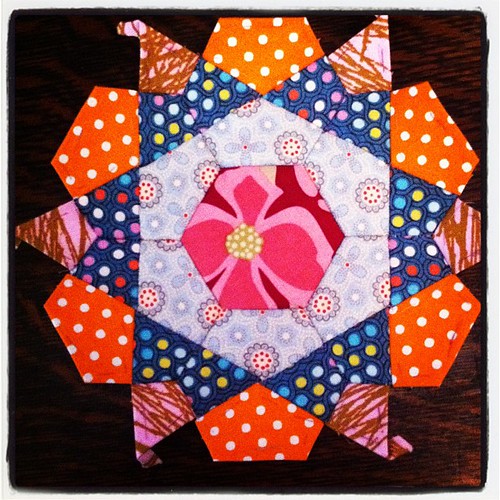
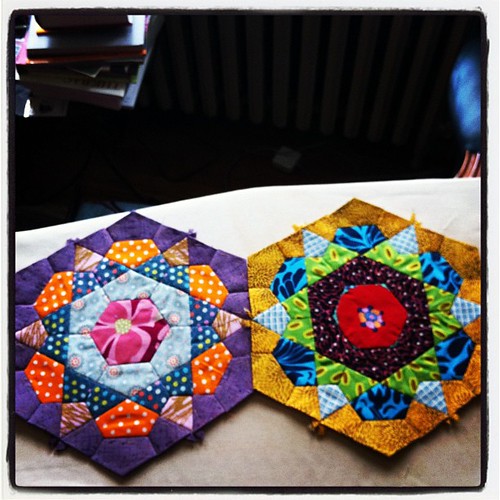
As they are, they do not tesselate, so another step will be required to join them all together. I can see at least three possible options. One is to applique each block to a background. The other two options both require additional pieces fit to each block. In one case, it would result in stars that are look closely interlocked, as in the photos
here. The last option builds out around each star so that the star is enclosed in a hexagon. It looks like this was the approach taken in
Jazz Hands, a quilt in one of the Modern Obsession books. I like this option best, as I can use different backgrounds for each block and it will give a kind of millefiori effect. It will also be different from the effect of
my other EPP project, where all the stars are surrounded by a same-seeming light background.